


Little cheese puffs, big summer energy!

My beloved Brazilian pão de queijo is the heart behind these little puffs, but I wouldn’t dare call them the real thing because they are more of a shortcut. A quick, breezy summer version, if you will.
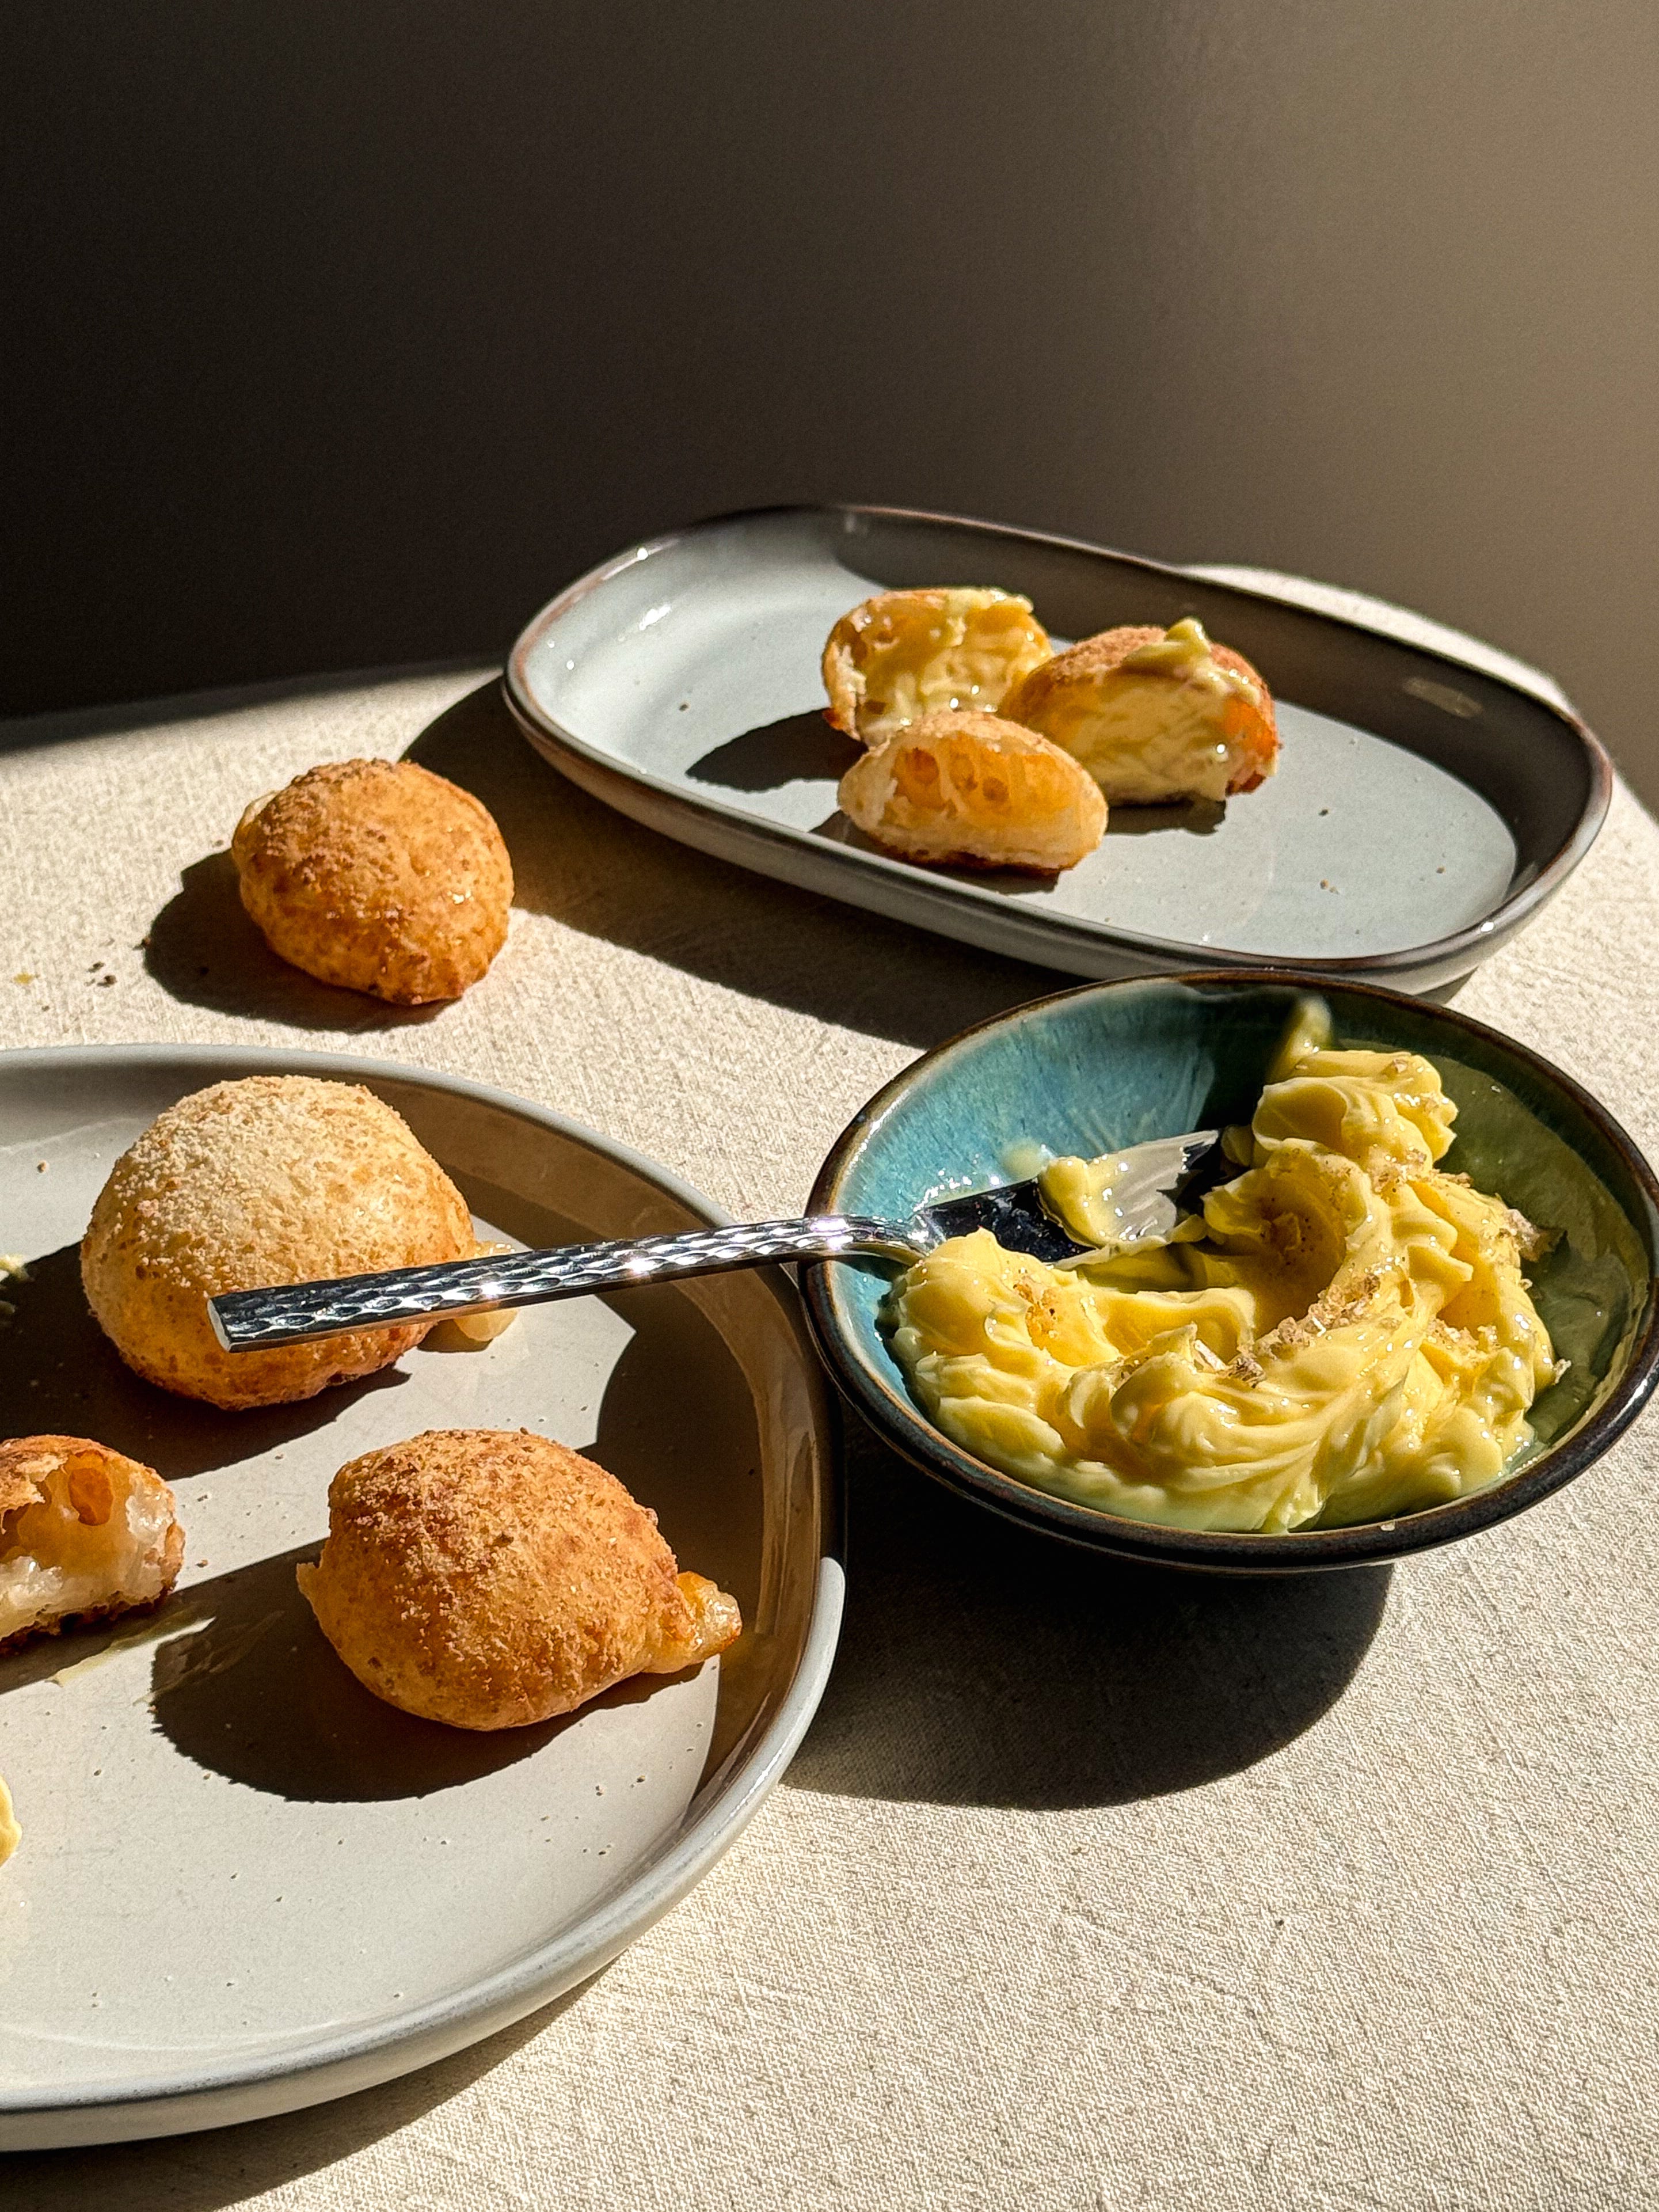
There are no eggs and no heating flour with hot milk, like the traditional method calls for. Just one bowl, a spoon, and you’re well on your way to irresistibly chewy bites that are soft and gooey when warm, then golden and slightly crisp with a delightful bite once they have cooled.


They come together with a ridiculously simple list of ingredients, which is why each one needs to pull its weight. No hiding behind technique here, just good things used well. So I reach for:
Flour
Tapioca flour (or starch) is a staple in Brazilian cooking (and in my kitchen too). The good news is, it’s become super easy to find here in the US. I usually reach for Bob’s Red Mill, especially when I don’t have access to Brazilian brands, which I know aren’t always easy to get everywhere. You should be able to find it from Walmart to Whole Foods. Using the right flour here really makes a difference, so I encourage you to go the extra mile and pick a quality one if you can.
Cottage cheese and Greek yogurt are what give our dough its shape, form , and in the absence of eggs, its structure too. I use Greek yogurt for its delicious tang and higher protein content. Because it's thicker, with much of the liquid (whey) drained off, it makes a firmer dough, which results in more compact buns that hold their shape beautifully in the oven. If you don’t mind a little cheesy spillage that might occur from a less firm dough, feel free to use regular yogurt instead.
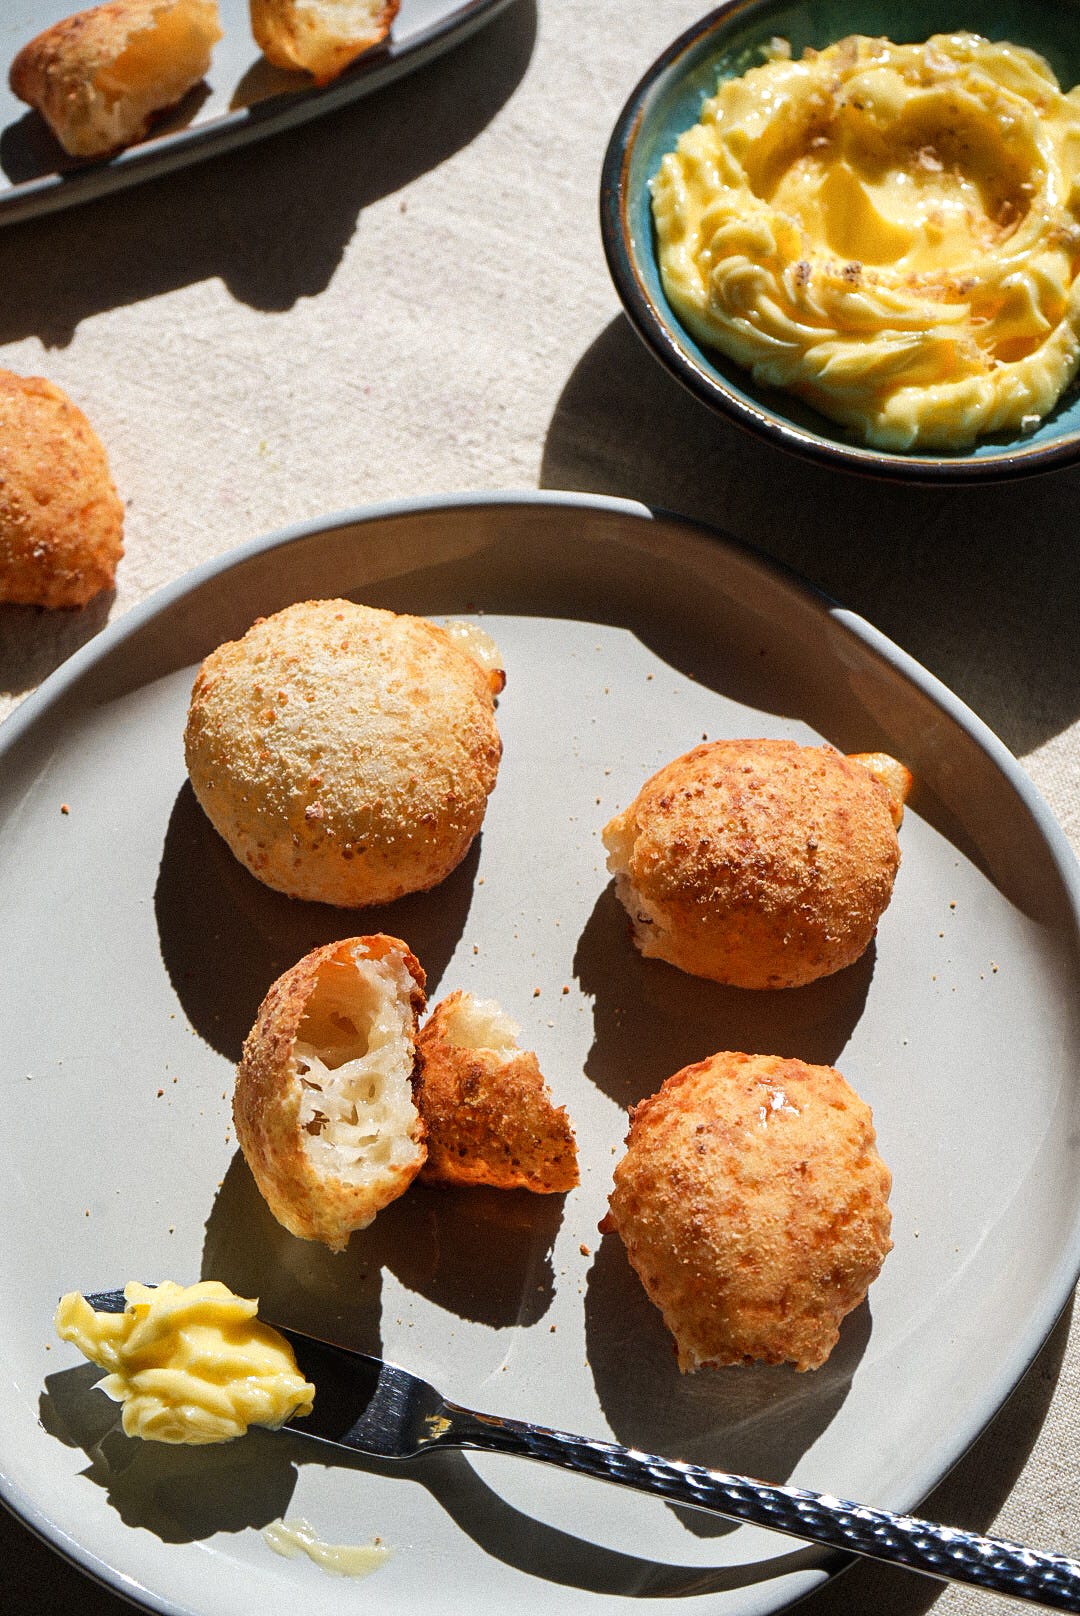
Cottage cheese is the wild card here. It’s not something you’d typically find in anything resembling pão de queijo, but oh, how I love it. Its pleasantly curdy texture melts wonderfully into the dough, and best of all, once the buns have cooled, it creates a hollow center that I find completely charming, and what makes these puffs puff.
In Brazil, pão de queijo is traditionally made with Queijo Minas Curado, a semi-hard, aged cheese from Minas Gerais, the very state where pão de queijo was born. It’s salty, slightly tangy, easy to grate, and melts beautifully into the dough, giving that signature stretchy-cheesy interior and deeply savory flavor. It has a very interesting, lovely balance of fresh creaminess and mature funk.
In home kitchens outside of Minas Gerais, you’ll often find adaptations using cheeses like Parmesan (for its salty, nutty flavor and easy availability), mozzarella (for a mild taste and gooey texture), or even requeijão, our soft, spreadable cheese similar to cream cheese, especially in blender-based recipes.
Since I’m in California, home to bold, expressive, and proudly local dairy, I wanted to lean into cheeses that are both widely available and rooted in our rich Mexican heritage that’s part of everyday life here. So I reached into my fridge and chose two favorites I always keep on hand: Cotija, which adds a sharp, salty bite reminiscent of aged Brazilian cheeses like the onesI mentioned above, and Quesadilla cheese, which is incredibly buttery and melts into that stretchy, creamy magic I’m always chasing when I bake with cheese.
Ever since I started using this combination, I haven’t gone back to Parmesan and mozzarella. These cheeses bring so much more depth, personality, and character to the dough, and best of all, they’re made with Real California Milk: local, sustainable, and sourced from real family farms, which matter a lot to me.
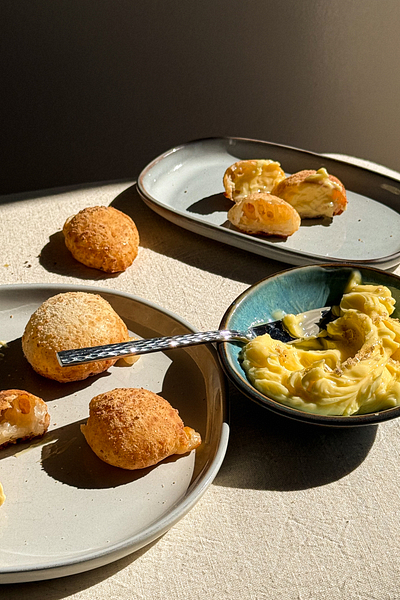
These buns ended up somewhere between the Brazilian kitchen I grew up in and a French apéro table, a little flirt with gougères, even. They’re incredible when warm with a glass of cold brew, cooled down with some olives and maybe even a little salami sandwiched in, or tucked into a lunchbox for a beach day snack.
I don’t think twice about serving them as a little sidekick to a pre-dinner cocktail, either.
Summer in Brazil is practically year-round, so to me, these are the ideal summer bites: fast, flavorful, protein-packed, and easy to take wherever you’re going.


This recipe is sponsored by Real California Milk, and I’m genuinely proud to share it with you. As always, all opinions, ideas, and cheese enthusiasm are entirely my own.
When you see the Real California Milk seal, you’re getting delicious, wholesome dairy and also supporting local Golden State farms and the families behind them. These are the people caring for the cows, the land, and the future of sustainable farming: Look for the seal on butter, yogurt, cream, ice cream, cheese, sour cream, crème fraîche... all the good stuff.
For a sweet little treat, I'd love to suggest a


Brazilian-Style Cheesy Yogurt & Cottage Cheese Puffs


Makes 12
1 cup (120g) tapioca flour/starch
1 (5g) teaspoon salt
1 cup (90g) grated Real California Milk Cotija Cheese (plus a little extra for rolling)
1 cup (115g) Real California Milk Shredded Quesadilla Cheese
½ cup (120g) Real California Milk full-fat Greek Yogurt
¾ cup (180g) Real California Milk full-fat Cottage Cheese

Preheat the oven to 350°F (180°C) and position a rack in the center. Line a baking sheet with parchment paper or a silicone mat.
In a large bowl, combine the tapioca starch and salt. Add the grated Cotija and shredded Quesadilla cheese. With your hands, mix until the cheeses are well coated with the starch.
Stir in the Greek yogurt and cottage cheese. The dough will look a little shaggy at first but don’t worry. Use your hands to bring it all together into a smooth dough. Then give it a good massage.
a) If the dough feels too dry or crumbly, add a little more yogurt, a spoonful at a time, until it comes together.
b) If the dough feels too wet or sticky, sprinkle in a bit more tapioca starch and cheese.
Just keep in mind it should lean slightly on the dry side. If it’s too soft, the buns may spread in the oven, or even an occasional cheese spillage might happen.
Divide the dough into 12 equal pieces. They should be about the size of a golf ball, or roughly 2 tablespoons each. Roll each one gently between your hands into a round ball (this is very therapeutic, so take your time). Roll them lightly in a bit more grated Cotija for an extra-cheesy and deliciously salty crust.
Place the balls on the prepared baking sheet, spacing them a bit apart.
Bake for 30-35 minutes (keeping an eye), or until puffed, golden. Some may crack ever so slightly on top, and a bit of cheese might bubble out here and there, but that’s all part of their charm.
Let them cool just a bit before serving. They’re at their most indulgent when piping hot, gooey inside, with cheese that melts scandalously. But I insist that as they cool, they only get more interesting, revealing new textures.
Notes
You can freeze the buns before baking! Simply shape the dough into balls, place them on a tray lined with parchment, and freeze until firm (about 1–2 hours). Then transfer the frozen buns to a freezer-safe bag or container. When ready to bake, place the frozen buns on a baking sheet and bake straight from frozen, just add about 5 to 8 extra minutes to the baking time

If you have any leftovers (unlikely!), reheat them gently in the oven or toaster to bring back their irresistible texture.
Disclaimer:
This post is sponsored by California Real Milk. Opinions and recipe development are entirely my own. Thank you for supporting the brands that support my work and believe in what I do.
I can’t wait to try these…they’re one of my favorite Brazilian treats. Thank you!
I’ve been waiting for this recipe. So happy now! Thank you.